Didimo Render Pipeline
In the Unity SDK, we include our custom HD Scriptable Render Pipeline for Unity. If you are not familiar with custom HD Scriptable Render Pipeline development for Unity we recommend to start by reading the following article:
Rendering Approach
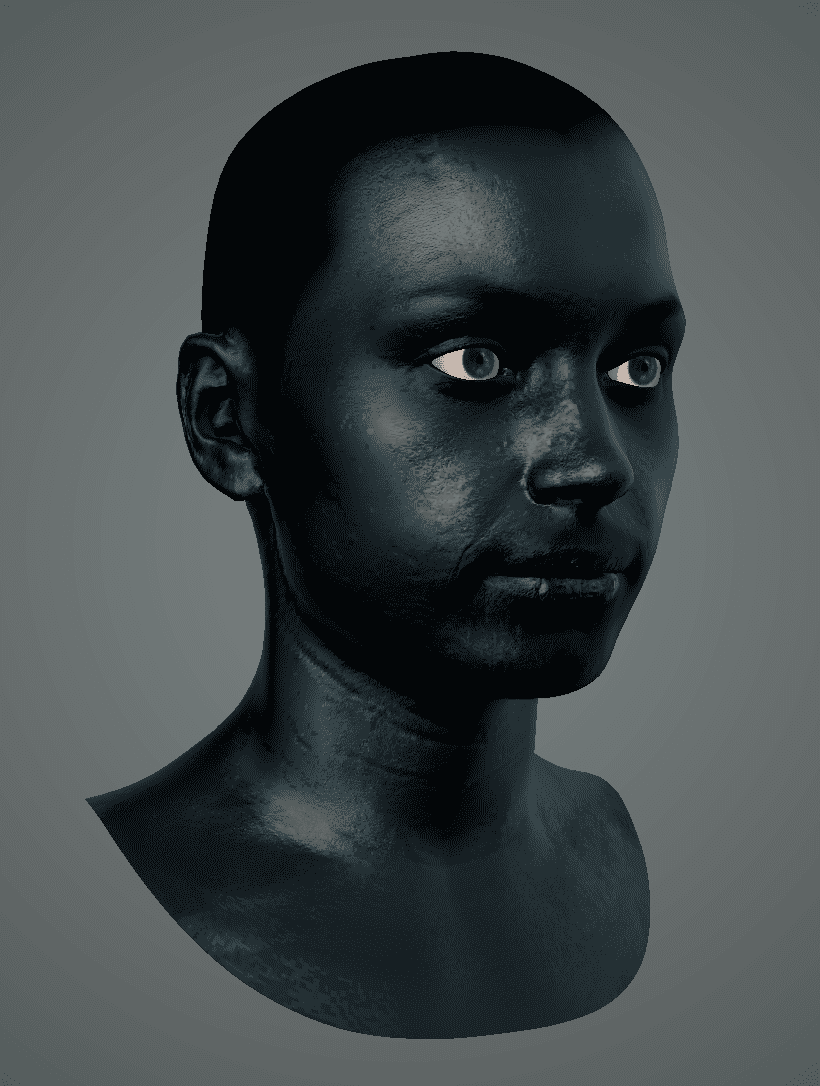
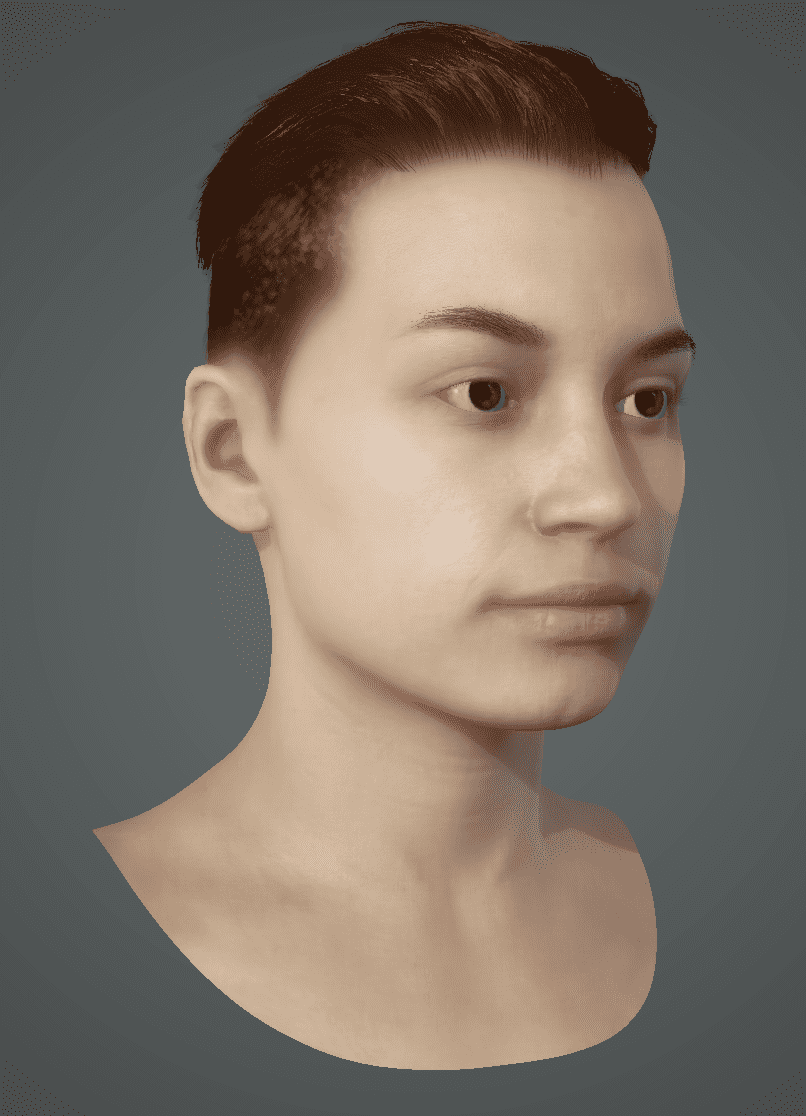
The motivation behind this development is to match the shading and lighting quality on Maya’s viewport. The following is a high level overview of the draw passes, which differ slightly from the Maya Viewport Plugin because of technical restraints.
Draw the Light Depth Map for Shadows
For the primary light in the scene, draw the depth from the point of view of the light into a depth buffer.
Make a Color Render Target Active
Make sure it’s allocated to the screen size, preferably 16bit floating point, and make that the current render target.
Draw the Background
Currently this is a screen quad with a shader that procedurally generates a circular gradient. This could change as art direction dictates. After drawing the background be sure to clear the depth buffer.
Draw Opaque Geometry with Material shaders
All geometry that’s categorized as opaque gets drawn with their respective material shaders that calculate the lighting. These material shaders sample the light depth texture to calculate shadows..
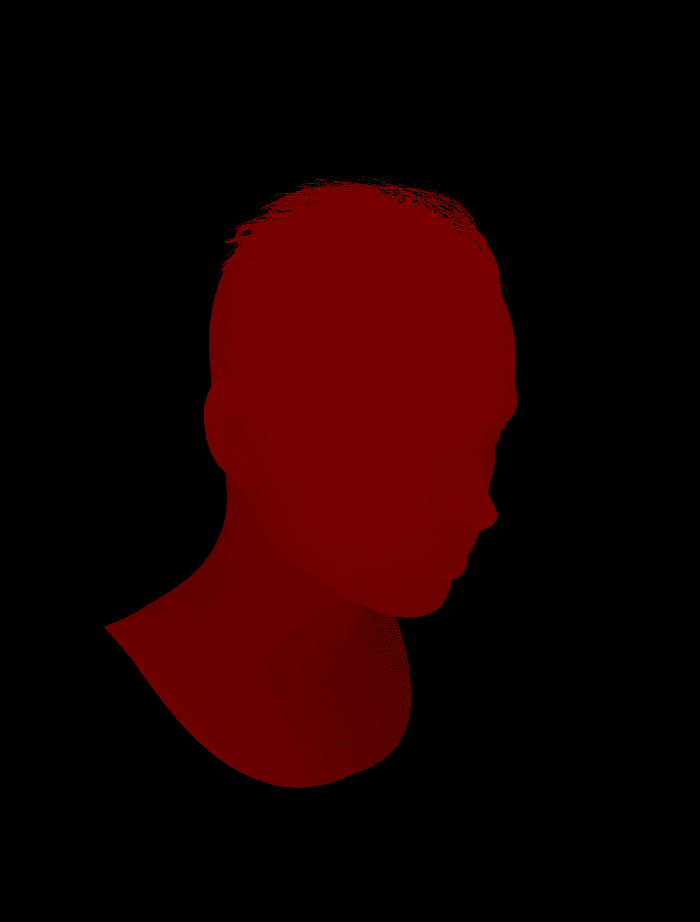
All materials write 2 outputs (MRT): the default buffer and the skin / diffuse buffer.
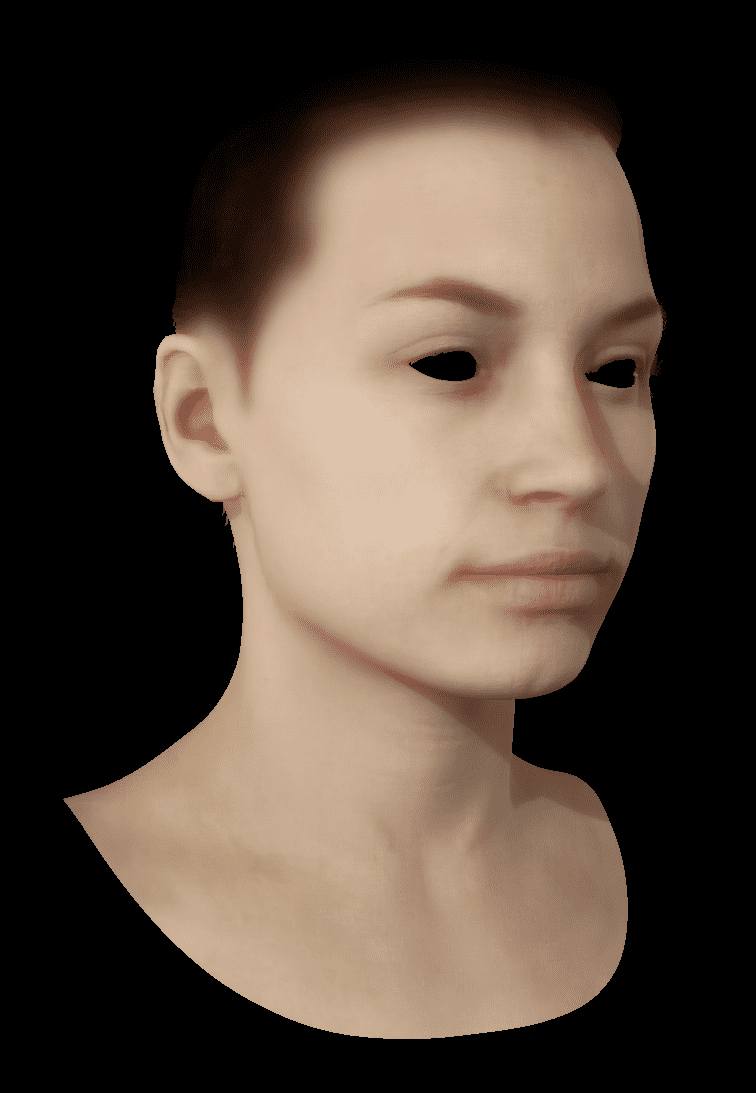
For the skin material the specular component writes to the default buffer and diffuse is written in the skin buffer. For everything but the skin shader black is written to the skin buffer with an alpha of 0.
Draw Translucent Geometry with Material Shaders
All geometry that’s categorized as translucent gets drawn with the material shaders that calculate the lighting. This often happens in 2 passes:
The first being an alpha cutout pass, which uses the opacity / transparency texture to determine whether or not to write to color and depth buffer, and also does a simplified lighting calculation to approximate the color, and backface culling is turned off.
The second pass has the depth writing and testing turned off but blending turned on, and the more sophisticated lighting calculation is done in this pass. Simpler translucent materials like eyebrows and the eyelashes can be done with just the blend pass.
Apply the SSS Diffusion Passes
The skin / diffuse buffer now needs have the screen-space diffusion applied using the utility shader sss.shader.
There are 2 passes, a horizontal blur and a vertical blur that utilize special weights (uniform float4 array).
- In the first pass the skin / diffuse buffer, let’s call that fb1, is sampled to produce the horizontal diffusion which is written to another framebuffer, let’s call that fb2.
- Then fb2 is copied to fb1 before doing the second (vertical blur) pass with the same shader.
Combine In a Final Pass
fb2 is then added with the original color framebuffer
Textures
All the shaders will be reading grayscale maps from the red channel, so when importing a grayscale (single channel texture) make sure it’s set like this:
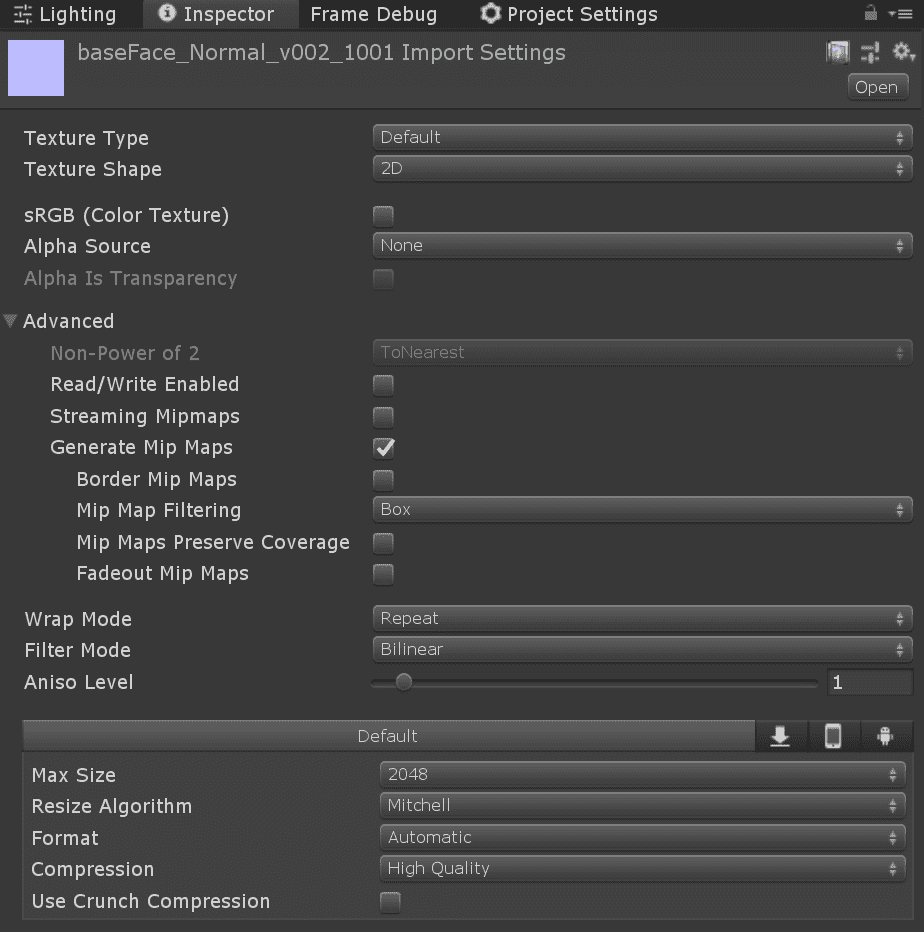
The shaders do the job of converting the normal map to normals used for lighting, so don’t let Unity do it, make sure normal maps are set like this, note that Texture Type is Default and sRGB is turned off:
It should be noted that color maps should otherwise still have sRGB turned on.
How to use it
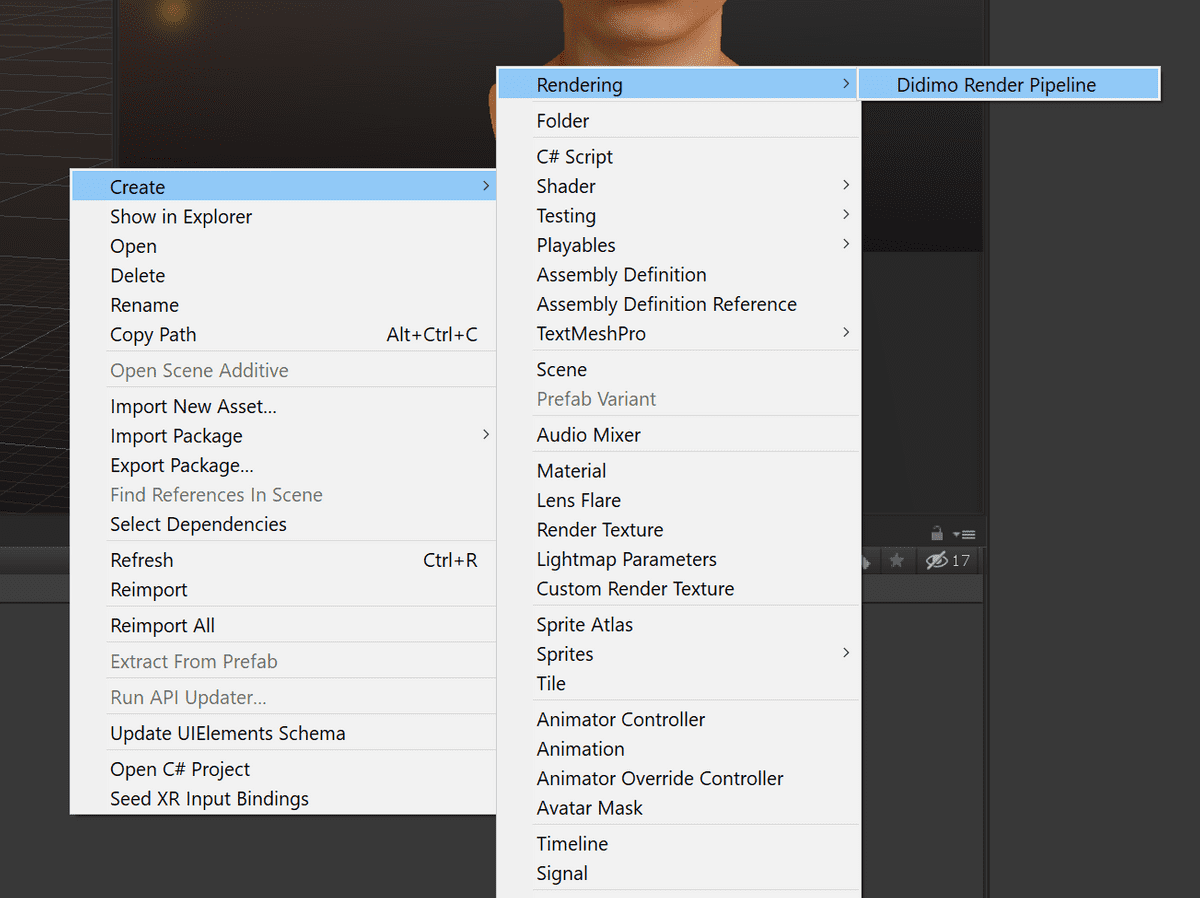
To use it, right click in the Asset browser and find the Didimo Render Pipeline menu option:
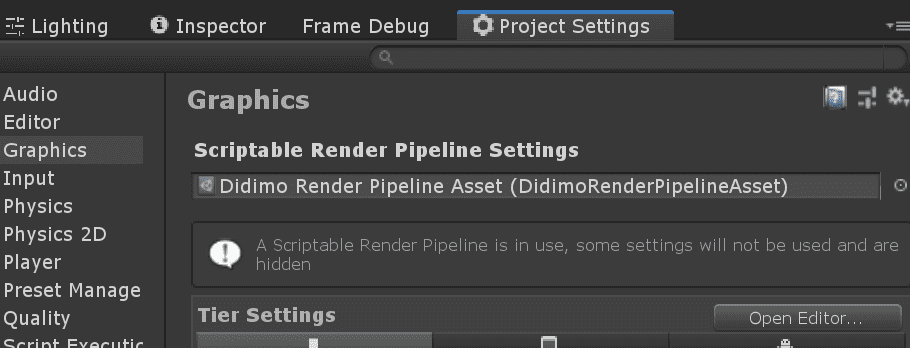
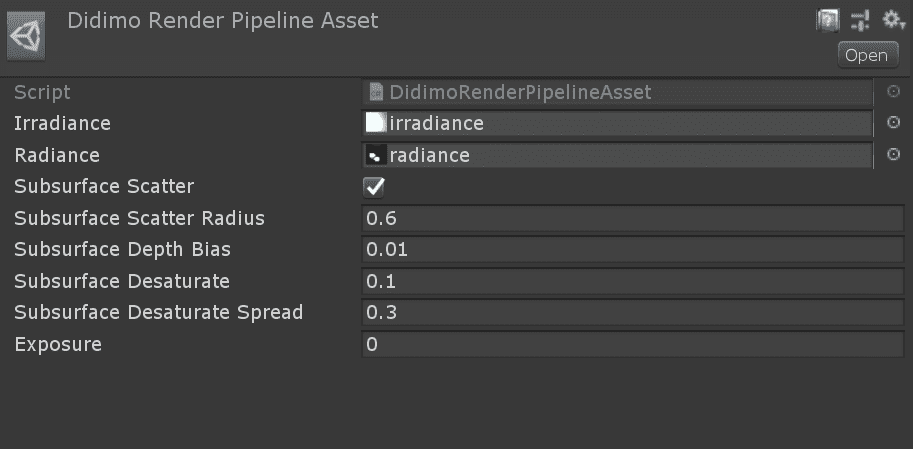
Then under Project Settings→Graphics→Scriptable Render PipelineSettings change from None to the new Didimo Render Pipeline Asset you just created:
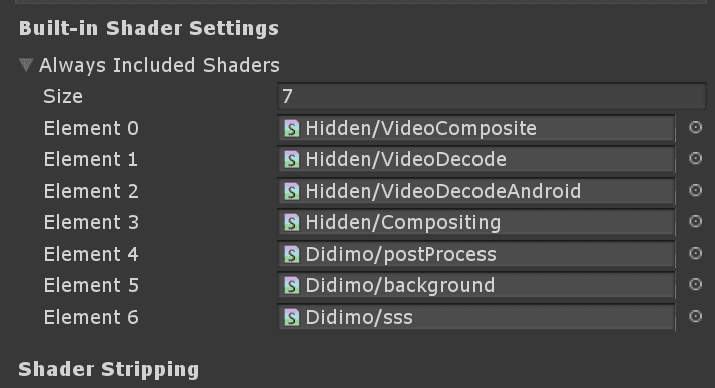
Make sure the 3 utility shaders: background, sss and postProcess are part of the built-in shader list:
Create materials using Didimo shaders. Only materials that use Didimo shaders will render. Shaders are registered in the SRP so if others are required please request them.
SRP Parameters
Subsurface scatter parameters: can be left at their defaults for the moment, should be set by the material state file down the road
Exposure: ultimately should stay at 0 but can be adjusted for debugging purposes to brighten or darken the final pixel values
Shaders
The SDK includes shaders for rendering high quality didimos in desktop and mobile targets.
Go to Shaders For Unity
Last updated on 2020-10-06

